
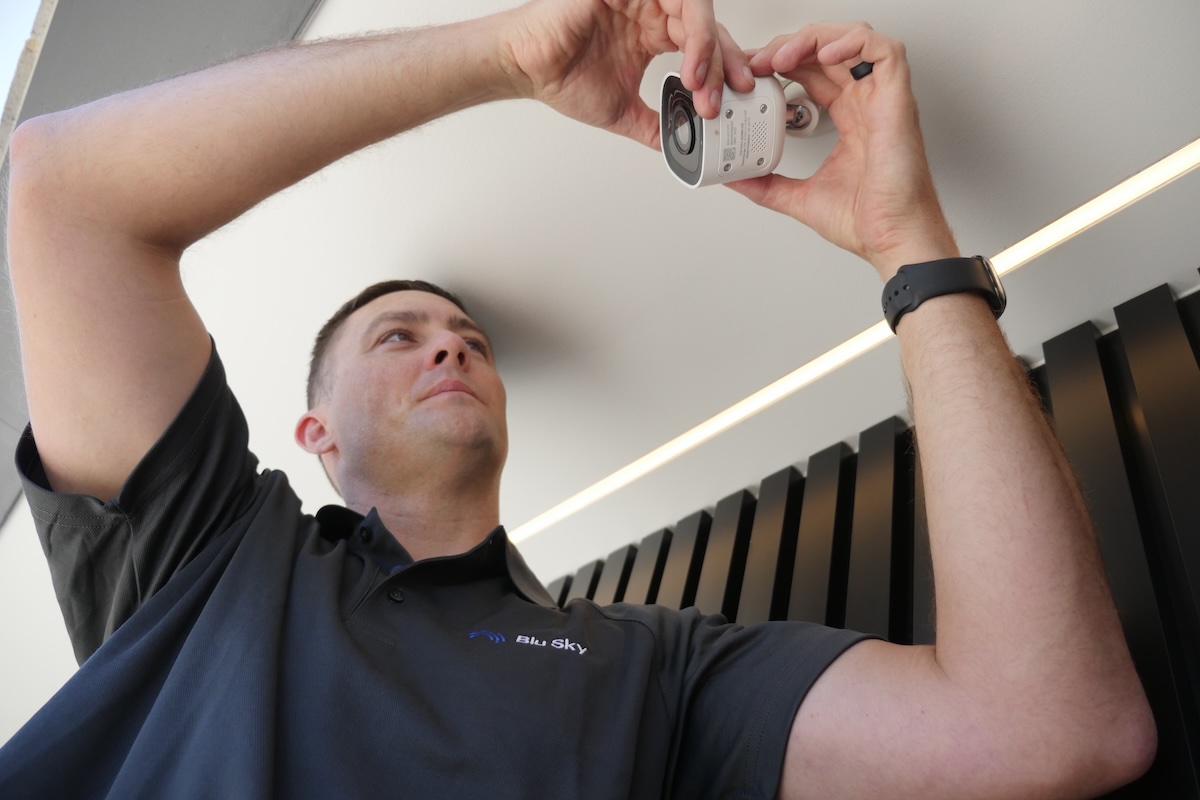
One of the most common questions we receive at Blu Sky Security Systems is: “How much will it cost to install security cameras at my home?” It’s a fair question and one that doesn’t come with a simple, one-size-fits-all answer.
The reality is that every property is different. A range of structural, logistical, and technical factors will influence the final price of your CCTV installation. Understanding these factors upfront can help you plan your budget and avoid surprises when you receive a quote.
Below, we walk through the key variables that affect the cost of a security camera installation in Adelaide so you know exactly what to expect before the job begins.
Contents
- 1 Single Storey vs Two-Storey Properties
- 2 Roof Type and Access
- 3 Your Home’s Construction Type
- 4 NVR or DVR Placement
- 5 Cable Distance Between Cameras and the Recorder
- 6 Number of Cameras and System Complexity
- 7 Wi-Fi and Wireless Camera Considerations
- 8 Pre-Wiring for New Builds and Renovations
- 9 So, How Do You Get an Accurate Price?
- 10 Frequently Asked Questions
Single Storey vs Two-Storey Properties
Whether your home is single or multi-storey is one of the biggest factors affecting installation cost and complexity.
Single storey homes with a tiled or tin roof are generally the most straightforward to install. The roof cavity is accessible, cable runs are manageable, and our technicians can safely position cameras at the ideal height for effective coverage. These properties tend to sit closest to the baseline cost for a standard installation.
Two-storey homes, however, introduce several significant challenges:
- No roof space on the ground floor. In a two-storey property, the ground floor ceiling sits directly beneath the first floor there is no roof cavity to run cables through on the lower level. This means cabling for ground-floor cameras often requires external conduit, which adds both cost and visual impact to the installation.
- Modem and NBN connection location. The NBN modem is frequently located on the ground floor (often near the front door or in a living area), while the roof cavity and camera cabling are accessible only from the upper level. Getting cable from the cameras down to the modem can be a significant challenge, sometimes requiring conduit to bridge the gap between floors.
- Safety and access limitations. Installing cameras at the roofline of a two-storey home requires working at considerable height. This raises safety concerns for both the initial installation and any future servicing or maintenance. Ladders at that height are not always safe or practical, which is why we carefully assess access before quoting on multi-storey properties.
- Camera viewing angle. Mounting cameras at the full height of a two-storey home can actually produce poor footage. At that elevation, the camera’s field of vision may be too high and too wide to capture useful detail at ground level which defeats the purpose of the system.
A practical workaround: In some two-storey homes, if the modem is located in the garage, we can install a camera on the exterior of the garage and cable directly to the modem inside. This avoids the need to route cable between floors and keeps costs down for at least part of the system.
The appearance of external conduit is a concern for many homeowners. Where conduit is unavoidable, our team works to route it as discreetly as possible but it’s worth being aware that a two-storey installation will often involve some visible cable management that a single-storey home would not.
Roof Type and Access
Your roof type plays a bigger role in installation pricing than most people realise.
Pitched roofs with standard tiles or tin sheeting are generally the easiest to work with. The space inside the roof cavity provides ample room for cables to be laid out safely, and technicians can move through the area more freely. This typically results in a quicker and more cost-effective installation.
Flat roofs with clip-lock sheeting present a very different challenge. Unlike tiles or standard sheeting that can be lifted to access the roof space, clip-lock panels cannot be individually removed without risk of damaging the entire roof. In many cases, accessing the cavity beneath clip-lock sheeting would require removing large sections of roofing something that is both time-consuming and carries a real risk of introducing water ingress. This is a scenario we actively avoid, and it often means alternative cabling routes must be found, adding to the overall cost.
Raked ceilings (where the internal ceiling follows the slope of the roof rather than sitting flat below it) are another common challenge. Because there is no cavity between the ceiling and the roof, there is simply nowhere to conceal cables. This typically means surface-mounted conduit or alternative routing solutions are required.
Multiple or separate roof spaces can also add complexity. Some architecturally designed homes have separate roof cavities that are not connected to one another. When cameras need to be positioned across different sections of the property, cabling cannot be run through the roof from one area to the next. Each section may require its own cable route back to the recorder, increasing both labour and materials.
Solar panels are one more factor worth mentioning. Even on an otherwise straightforward single-storey home, if solar panels are positioned directly above the area where our technicians need to access the roof space particularly to run cable down through the wall to the NBN modem location additional time is needed to work around them safely.
Your Home’s Construction Type

The way your property is built has a significant impact on installation complexity and therefore cost. The main challenge lies in how cables are concealed within your walls.
Double brick homes, which are common among older Adelaide properties, present one of the more demanding installation scenarios. Because both the internal and external walls are solid brick, accessing the wall cavity is more difficult. The cavity itself tends to be narrow, leaving limited space for running cable neatly and safely.
Hebel and foam panel construction can present similar challenges. Hebel is a lightweight aerated concrete product used widely in modern South Australian builds, and while it offers excellent insulation, it often results in minimal or no wall cavity at all. This means installers may need to use alternative cable routing methods, which adds time and labour to the job.
On the other hand, brick veneer homes where an outer layer of brick sits over a timber-framed wall tend to have larger, more accessible cavities. This makes cable concealment faster and more straightforward, keeping the installation closer to a baseline cost.
In short: If your home has solid double brick or Hebel walls, expect the installation to take longer and cost a bit more than it would in a standard brick veneer property.
NVR or DVR Placement
Your Network Video Recorder (NVR) or Digital Video Recorder (DVR) is the central hub of your camera system. It stores and manages all of your security footage. Ideally, it should be positioned near a television or monitor so you can easily review recordings when needed.
However, this isn’t always practical. In a multi-storey home where the TV is on the ground floor but the cameras and cabling run through the upper level, a direct connection may not be feasible without significant extra cabling.
In these cases, our team will recommend the most appropriate solution such as connecting a separate monitor directly to the NVR/DVR, or positioning the unit in a more accessible location with remote viewing configured through your smartphone or tablet. If you’re interested in upgrading an ageing recording system, talk to us about your options.
Cable Distance Between Cameras and the Recorder
The physical distance between each camera and the NVR/DVR is one of the most direct cost variables. More distance means more cable, more difficulty, and more labour to complete the installation.
This applies in two ways:
- Camera-to-recorder distance: The further each camera is from the recording unit, the longer the cable run required. On larger properties, this can add up substantially.
- Camera-to-camera distance: If cameras are spread across different sides of your property, each run needs to be routed individually back to the recorder, increasing both material and labour costs.
For larger homes or properties with cameras positioned at significant distances from one another, the total cabling requirement and therefore the cost will naturally be higher than for a compact home with cameras clustered around a central area.
Number of Cameras and System Complexity

Beyond the factors above, the overall scope of your system will obviously influence the price. A four-camera residential setup is a very different job from an eight-camera system covering a large property with multiple entry points, driveways, and outbuildings.
Other elements that can affect cost include:
- The resolution and specification of the cameras you choose (e.g. 4MP vs 8MP)
- Integration with existing alarm systems, intercoms, or smart home platforms
- Amount of storage space required for playback.
Wi-Fi and Wireless Camera Considerations
Some homeowners ask about Wi-Fi cameras as an alternative to hard-wired systems, particularly where cabling is difficult or costly. While wireless cameras can be a useful option in certain situations, there are important limitations to understand.
Wi-Fi cameras still require a power source. A Wi-Fi camera eliminates the need for a data cable back to the recorder, but it still needs to be plugged into a power point. If there is no power outlet near the desired camera location, an electrician may need to install one which adds its own cost.
Battery-powered wireless cameras remove the power cable requirement entirely, but they come with a trade-off: the batteries need to be recharged or replaced regularly. If a battery runs flat and you don’t notice, you could have a gap in your coverage at exactly the wrong time.
Our recommendation: Hard-wired cameras are always the preferred option where possible. They provide the most reliable, consistent coverage without the need to manage batteries or worry about Wi-Fi signal strength. However, where hard-wiring is impractical such as in a detached building or a heritage property where concealed cabling isn’t feasible a Wi-Fi or battery-powered camera can be a sensible compromise as part of a broader system.
Pre-Wiring for New Builds and Renovations

If you’re building a new home or undertaking a major renovation, having your property pre-wired during the construction phase can save significant cost compared to a retrofit installation. Pre-wiring allows cables to be placed inside walls, ceilings, and roof spaces before they’re sealed eliminating the need for surface-mounted conduit or complex retrofit routing later.
Blu Sky works directly with residential builders across Adelaide to ensure pre-wiring is done correctly and positions cameras, cabling, and the NVR location for optimal coverage from day one.
Conversely, if you’re upgrading an older system, the condition of any existing cabling will determine whether it can be reused or needs to be replaced entirely. Legacy systems that are 10 to 20 years old may use outdated cable types that aren’t compatible with modern IP camera technology. Learn more about upgrading your existing system.
So, How Do You Get an Accurate Price?
Because every installation is unique, the most reliable way to understand what your project will cost is to have a professional assess your property. At Blu Sky Security Systems, we provide obligation-free quotes for homes and businesses across Adelaide from the CBD and inner suburbs through to the northern corridors, eastern suburbs, Adelaide Hills, and beyond.
Our experienced technicians will assess your property’s construction, layout, and specific security requirements, then provide a clear, transparent quote with no hidden fees. We’ll explain exactly what’s involved, why certain approaches are recommended, and where there are options to manage cost.
Request your free quote today or call our Adelaide team on (08) 7123 4177 to discuss your security camera installation.
Already have a system that needs attention? You can also book a service call or ask about our ongoing maintenance program to keep your cameras performing at their best.
Frequently Asked Questions
How much does a security camera installation cost in Adelaide?
The cost varies depending on your property type, the number of cameras, cable distances, and roof access. A straightforward four-camera installation on a single-storey brick veneer home will cost less than a multi-camera setup on a two-storey or architecturally complex property. Contact us for a free, no-obligation quote tailored to your home or business.
Why are two-storey homes more expensive to install cameras on?
Two-storey properties present several challenges: there is no roof cavity above the ground floor for concealing cables, the modem is often located downstairs away from the roof space, and working safely at the full height of a two-storey building requires additional care. External conduit is often needed to route cables between floors, which adds both cost and visual impact.
Does the type of roof affect the installation price?
Yes. Pitched roofs with tiles or standard tin sheeting are generally the most cost-effective. Flat roofs with clip-lock sheeting, raked ceilings with no cavity, and homes with multiple separate roof spaces all increase complexity and cost. Solar panel placement can also affect access to key cabling routes.
Are Wi-Fi cameras cheaper to install than hard-wired cameras?
Not necessarily. Wi-Fi cameras still require a nearby power source, so if there’s no existing power point at the camera location, electrical work may be needed. Battery-powered cameras avoid this but need regular recharging. Hard-wired cameras remain the most reliable option and are recommended wherever cabling is feasible.
Can I save money by pre-wiring my new home for security cameras?
Absolutely. Pre-wiring during construction is one of the most cost-effective approaches, as cables can be placed inside walls before they’re sealed. This avoids the need for surface-mounted conduit and significantly reduces installation time when your cameras are fitted. Learn about our residential builder packages.
Do you install and service all brands of security cameras?
Yes. Blu Sky Security Systems installs, services, and supports all major brands including Hikvision, HiLook, Dahua, UniView, Hanwha and more. Whether you’re starting fresh or upgrading an existing system, we can help.